321-501-6220


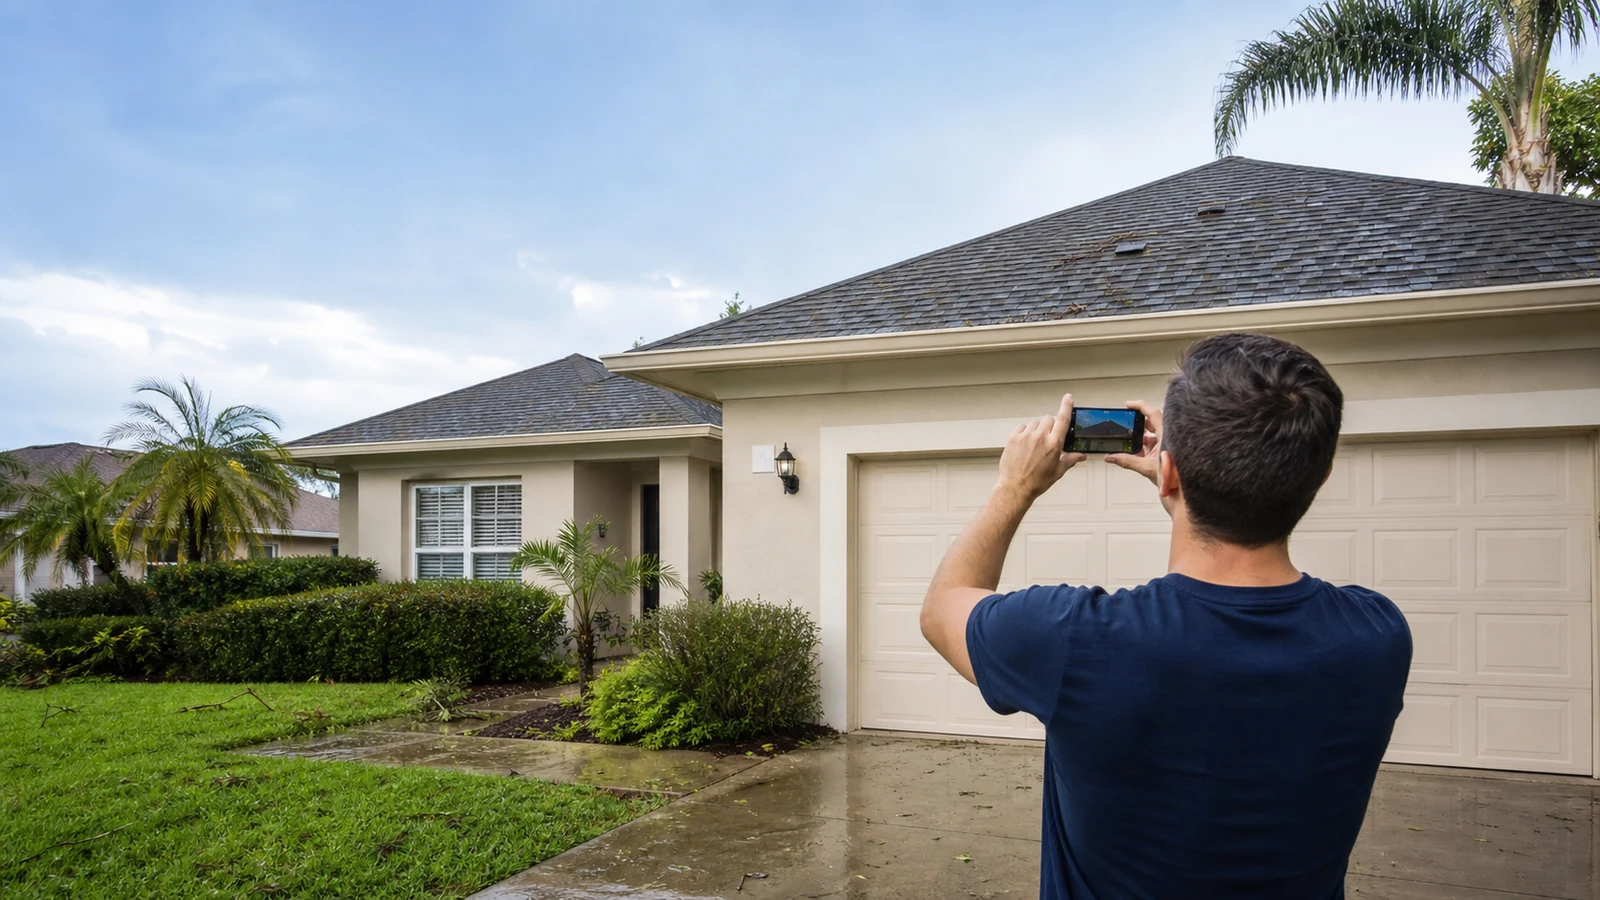
Once the storm has passed and local officials say conditions are safe, start with a slow walk around your property. Stay on the ground. Look for changes you can see without climbing: missing or shifted roofing, debris, damaged gutters, water marks, or new ceiling stains. Take wide and close photos, note when you first saw each condition, and arrange a roof inspection when anything looks different or water has entered the home.
This checklist helps you observe and document possible storm damage. It cannot confirm what caused a mark or whether a roof needs repair or replacement; those decisions require a closer evaluation of the roof system.
First, Make Sure the Property Is Safe
A damaged roof is only one possible hazard after severe weather. Watch for downed power lines, loose tree limbs, standing water near electrical equipment, broken glass, unstable fencing, and pieces that may still fall from the home. If you smell gas, see structural movement, or find a live electrical hazard, leave the area and contact the appropriate emergency service or utility.
Do not climb onto the roof, lean a ladder against a wet gutter, or walk beneath a hanging limb to get a better picture. Wet roofing is slippery, and storm damage can weaken surfaces that look normal from below. Binoculars and a phone camera with zoom are safer tools for a first look.
If water is entering near a light fixture, outlet, appliance, or electrical panel, keep away from the area. Do not touch wet electrical equipment. Follow emergency guidance and use a qualified electrician when electrical exposure is possible.
Use a Ground-Level Post-Storm Checklist
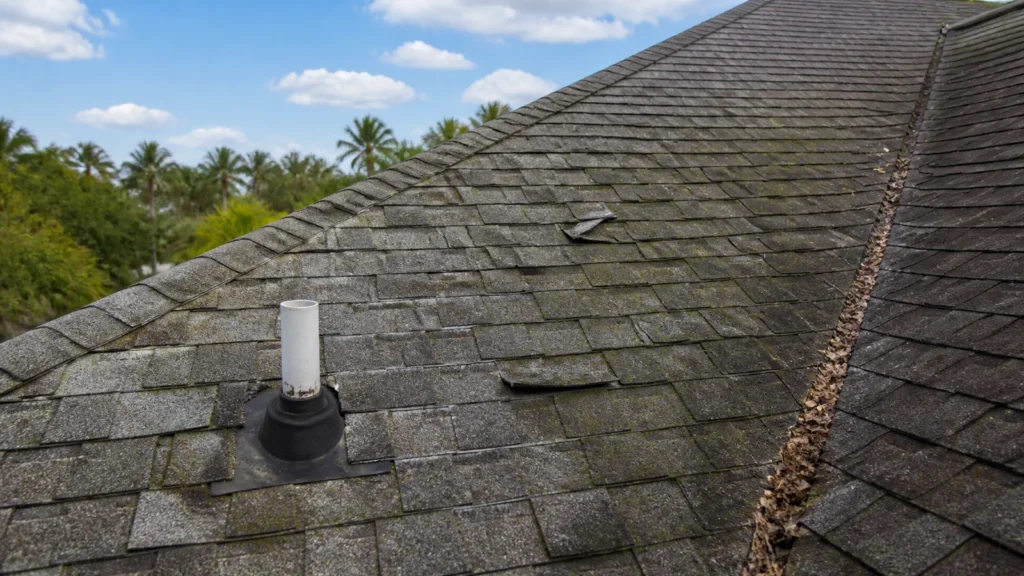
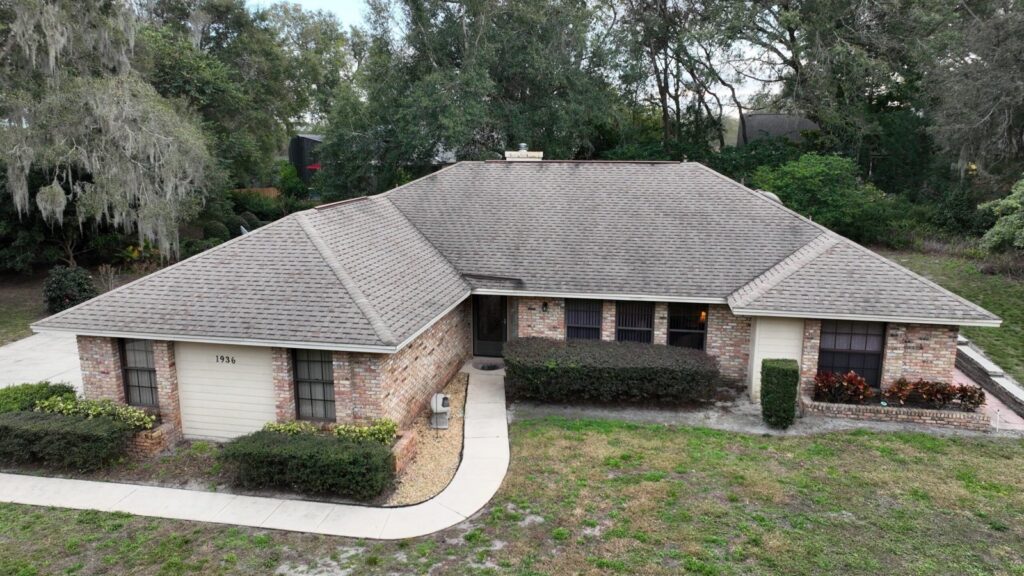
Walk the full perimeter only where access is clear. Compare each side of the roof with any older photos you have. The goal is to identify changes, not to decide what caused them.
- Missing, lifted, curled, cracked, or visibly shifted shingles
- Tile pieces or roofing fragments on the ground
- Bent, detached, or displaced metal along roof edges
- Loose flashing around a chimney, wall, skylight, or vent that is visible from below
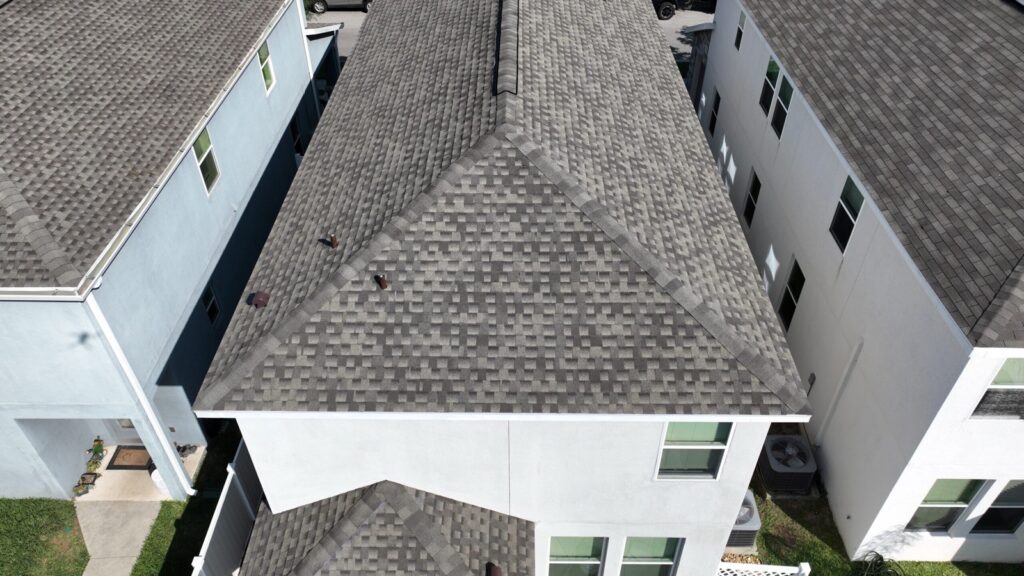
- A ridge cap or roof edge that looks uneven after the storm
- Tree limbs, antennas, or other debris resting on the roof
- Gutters or downspouts pulling away from the fascia
- Granules or roofing debris collected near downspout outlets
- Dents or impact marks on gutters, vents, screens, or other metal surfaces
- Water dripping from an eave or appearing where it did not before
One item alone may not establish storm damage. A gutter dent does not prove the condition of the roof covering, and scattered granules can have more than one explanation. Treat these observations as reasons to document and ask for an evaluation.
Check Inside the Home, Too
Some of the most useful observations are indoors. Look through rooms below the roof and, if you can enter safely, the attic access area. Do not step away from a finished attic floor or ceiling joists, and do not disturb wet insulation.
Look for a new ceiling stain, damp drywall, peeling paint, dripping water, wet insulation, or a musty odor that appeared after the storm. Check closets and rooms that are not used every day. Water can travel along decking, framing, pipes, or other surfaces before it becomes visible, so the indoor stain may not sit directly below the entry point.
Mark the edge of a stain lightly with a pencil and add the date. That makes it easier to see whether it grows during later rain. Photograph the whole ceiling or wall first, then take a closer image that shows the detail. If a container is needed to catch water, place it only where you can do so without approaching electrical hazards or a sagging ceiling.
Photograph What Changed
Good documentation is simple and chronological. Take a wide photo that establishes the part of the property, followed by a closer photo of the visible condition. Keep the original files rather than relying only on screenshots or images sent through messaging apps.
Write down:
- The date and approximate time the storm passed
- When you first noticed the exterior or interior change
- Which room, roof side, or building elevation is involved
- Whether water appeared during wind-driven rain or afterward
- Whether the condition changes during later rainfall
- Any temporary step taken to protect the interior
- The name and date of anyone who evaluates or works on the roof
Do not move roofing fragments simply to stage a photo. If debris must be moved for safety, photograph it in place first when that can be done safely. Save receipts for reasonable temporary protection and keep copies of inspection notes and written scopes. Questions about insurance coverage, deadlines, or documentation should go to your insurer or licensed insurance professional; a roofing guide cannot determine what a policy covers.
Understand What the Visible Signs Can—and Cannot—Tell You
Wind can lift or remove roofing, flying debris can cause impact damage, and heavy rain can find vulnerable transitions. Hail may leave marks on soft metals or roofing surfaces. Yet a visible mark does not automatically reveal when it happened, whether the roof assembly below it is affected, or what work is appropriate.
Roof edges, valleys, wall intersections, skylights, chimneys, plumbing vents, and other penetrations deserve attention because they depend on flashing and transitions to direct water. An inspection may also need to consider drainage, attic conditions, decking, fasteners, underlayment, and prior repairs. That is why a photo checklist is useful preparation but not a substitute for an on-roof evaluation by someone trained to perform it safely.
If a neighbor has damage, it is reasonable to look at your own property, but neighboring roofs can differ in age, material, orientation, installation, and exposure. Do not assume the same outcome.
What to Do When Water Is Already Coming In
If water is actively entering, move people, pets, furniture, and valuables away from the wet area when it is safe. Use a container to catch drips and protect the floor. Do not puncture a bulging ceiling, enter a room with a sagging ceiling, or climb into a wet attic.
For a step-by-step safety guide, see what to do when your roof leaks during a Florida storm. Once conditions are safe, a roofing professional can assess temporary protection and the permanent repair scope. Temporary covering is not the same as a completed repair, and it should not be installed by an untrained homeowner in unsafe conditions.
What a Post-Storm Roof Inspection Should Clarify
A useful inspection should connect observations to a written explanation. Ask the inspector to identify the areas examined, the conditions found, photographs or measurements used, and the next step being recommended. If work is proposed, the scope should distinguish repair items from replacement items and name the materials or components involved.
Helpful questions include:
- Which roof areas and transitions were inspected?
- What conditions were found, and where are they located?
- Which findings appear recent, and what supports that conclusion?
- Is immediate temporary protection needed?
- Can a focused repair address the condition, or is broader work being proposed?
- What decking or concealed conditions cannot be confirmed until materials are removed?
- Which photos, measurements, and product details will be included in the written scope?
If you want a condition review after severe weather, learn what to expect from DeSantis Roofing’s roof inspection services. For work tied specifically to wind, hail, or storm exposure, review the storm damage roofing service.
Compare the Scope, Not Just the Urgency
Storms can create pressure to make a fast decision. Take enough time to understand the proposal unless immediate safety protection is needed. Confirm the contractor’s identity and current Florida license through the state’s official licensing system. Read every authorization before signing it, and keep a copy.
Compare written scopes line by line. Look for the area of work, removal and disposal, material names, flashing and ventilation details, treatment of damaged decking, cleanup, payment schedule, and who is responsible for permits when applicable. A proposal that simply says “fix storm damage” leaves too much open to interpretation.
A roofing contractor can describe roof conditions and propose work. Your insurance company interprets your policy and decides coverage. Keep those roles separate, and avoid anyone who guarantees a claim outcome or pressures you to sign over benefits you do not understand.
A Simple Decision Path
Use this sequence after the property is safe:
| What you find | Practical next step |
|---|---|
| No visible change and no interior water | Save your photos as a baseline and continue normal maintenance |
| A visible exterior change but no active leak | Schedule an inspection and avoid disturbing the area |
| A new stain or intermittent drip | Document when it appears and request a roof inspection promptly |
| Active water entry | Protect people and belongings, avoid electrical hazards, and request professional help when conditions are safe |
| Structural movement, fallen tree, gas, or electrical danger | Leave the area and contact emergency services or the appropriate utility |
Planning Your Next Step
You do not need to diagnose the roof before calling. A clear description—what changed, where you saw it, and when it appeared—is enough to start a useful conversation. DeSantis Roofing can evaluate the roof and explain whether the next step is monitoring, roof repair, or a broader scope.
Frequently Asked Questions
What roof damage can I look for after a Florida storm?
From the ground, look for missing or shifted roofing, debris, uneven roof edges, damaged gutters, displaced flashing, and new water marks. Indoors, check for stains, damp drywall, dripping, or wet insulation. These signs justify closer evaluation but do not confirm the cause or repair scope by themselves.
Should I climb onto my roof to check for storm damage?
No. Wet or damaged roofing can be slippery and unstable. Use ground-level observations, binoculars, and camera zoom. Leave roof access to someone trained and equipped to inspect it safely.
Does a ceiling stain show where the roof is leaking?
Not necessarily. Water can travel along the roof deck, framing, pipes, or other surfaces before it appears indoors. Record the stain’s location and timing, but expect the inspection to trace the entry path separately.
Are granules near a downspout proof of hail damage?
No. Granule accumulation can have several causes, including normal shedding and roof wear. Photograph it and mention it during an inspection, but do not treat it as proof of hail damage or a coverage decision.
How soon should I arrange a roof inspection after a storm?
Arrange one promptly when you see a new exterior change, interior moisture, fallen debris, or active water entry. If there is an electrical, gas, or structural hazard, address the emergency first and wait for safe access.
Can a roofer tell me whether insurance will pay for the work?
A roofer can document roof conditions and provide a proposed scope. Your insurer interprets the policy and makes coverage decisions. Be cautious of guarantees about approval, payment, or deductibles.
What should I save after a storm?
Save original photos and videos, a short timeline, inspection notes, written scopes, communications, and receipts for reasonable temporary protection. Keep them together so you can compare conditions and proposals accurately.